- Sweet Tea Studio Blog
- Posts
- A Rusty Victorian Stove
A Rusty Victorian Stove
Jen Carey
October 12, 2025
Happy October my sweet friends! How has your fall been so far? Last weekend my husband and I went to our yearly fall craft and antique festival. I look forward to it every year and it did not disappoint. Lovely heirloom pumpkins, loads of really amazing antique vendors and lots and lots of rustic/ primitive decor and barn finds. I left feeling like fall had officially kicked off here in Central Florida, even though the weather isn’t cooperating with me yet! Hopefully it will get cooler here soon.
As far as minis are concerned I’m shifting gears from dollhouse building for a bit to slow down and savor some cozy new mini projects, new mice families and some other little critters, and I’ve had this little stove kit on my mind as something that I wanted to add to my own collection, and maybe offer a couple for purchase while I’m at it.
I thought it would be fun to style it for my little mouse momma here in her cozy cupboard kitchen. It shows up nicely against the white painted bead-board backing, don’t you agree?
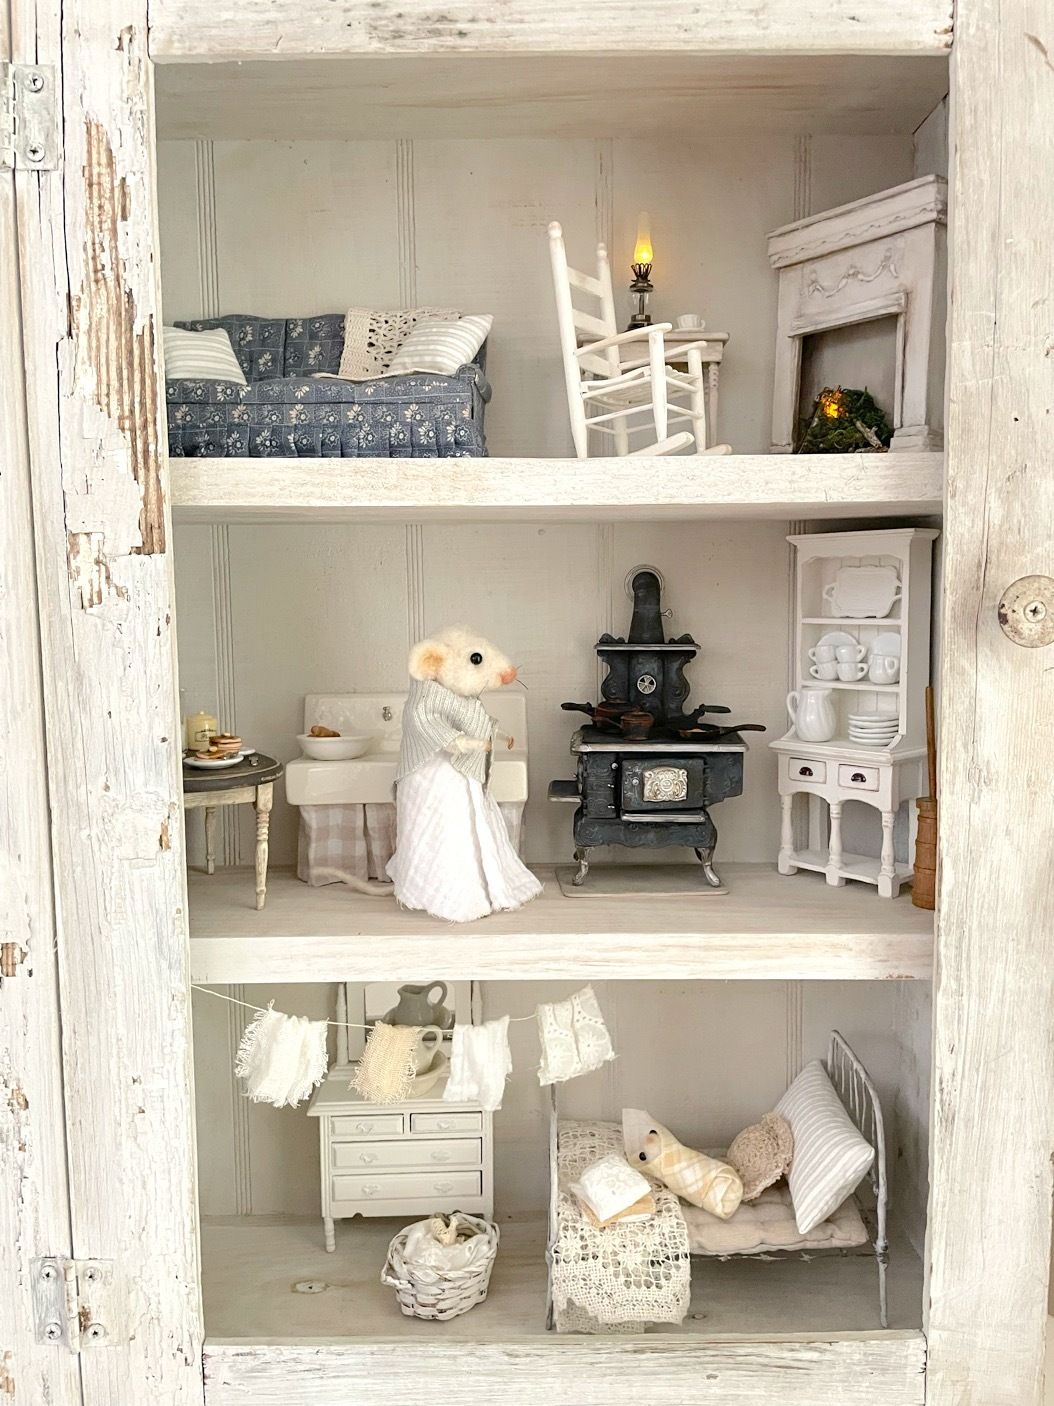


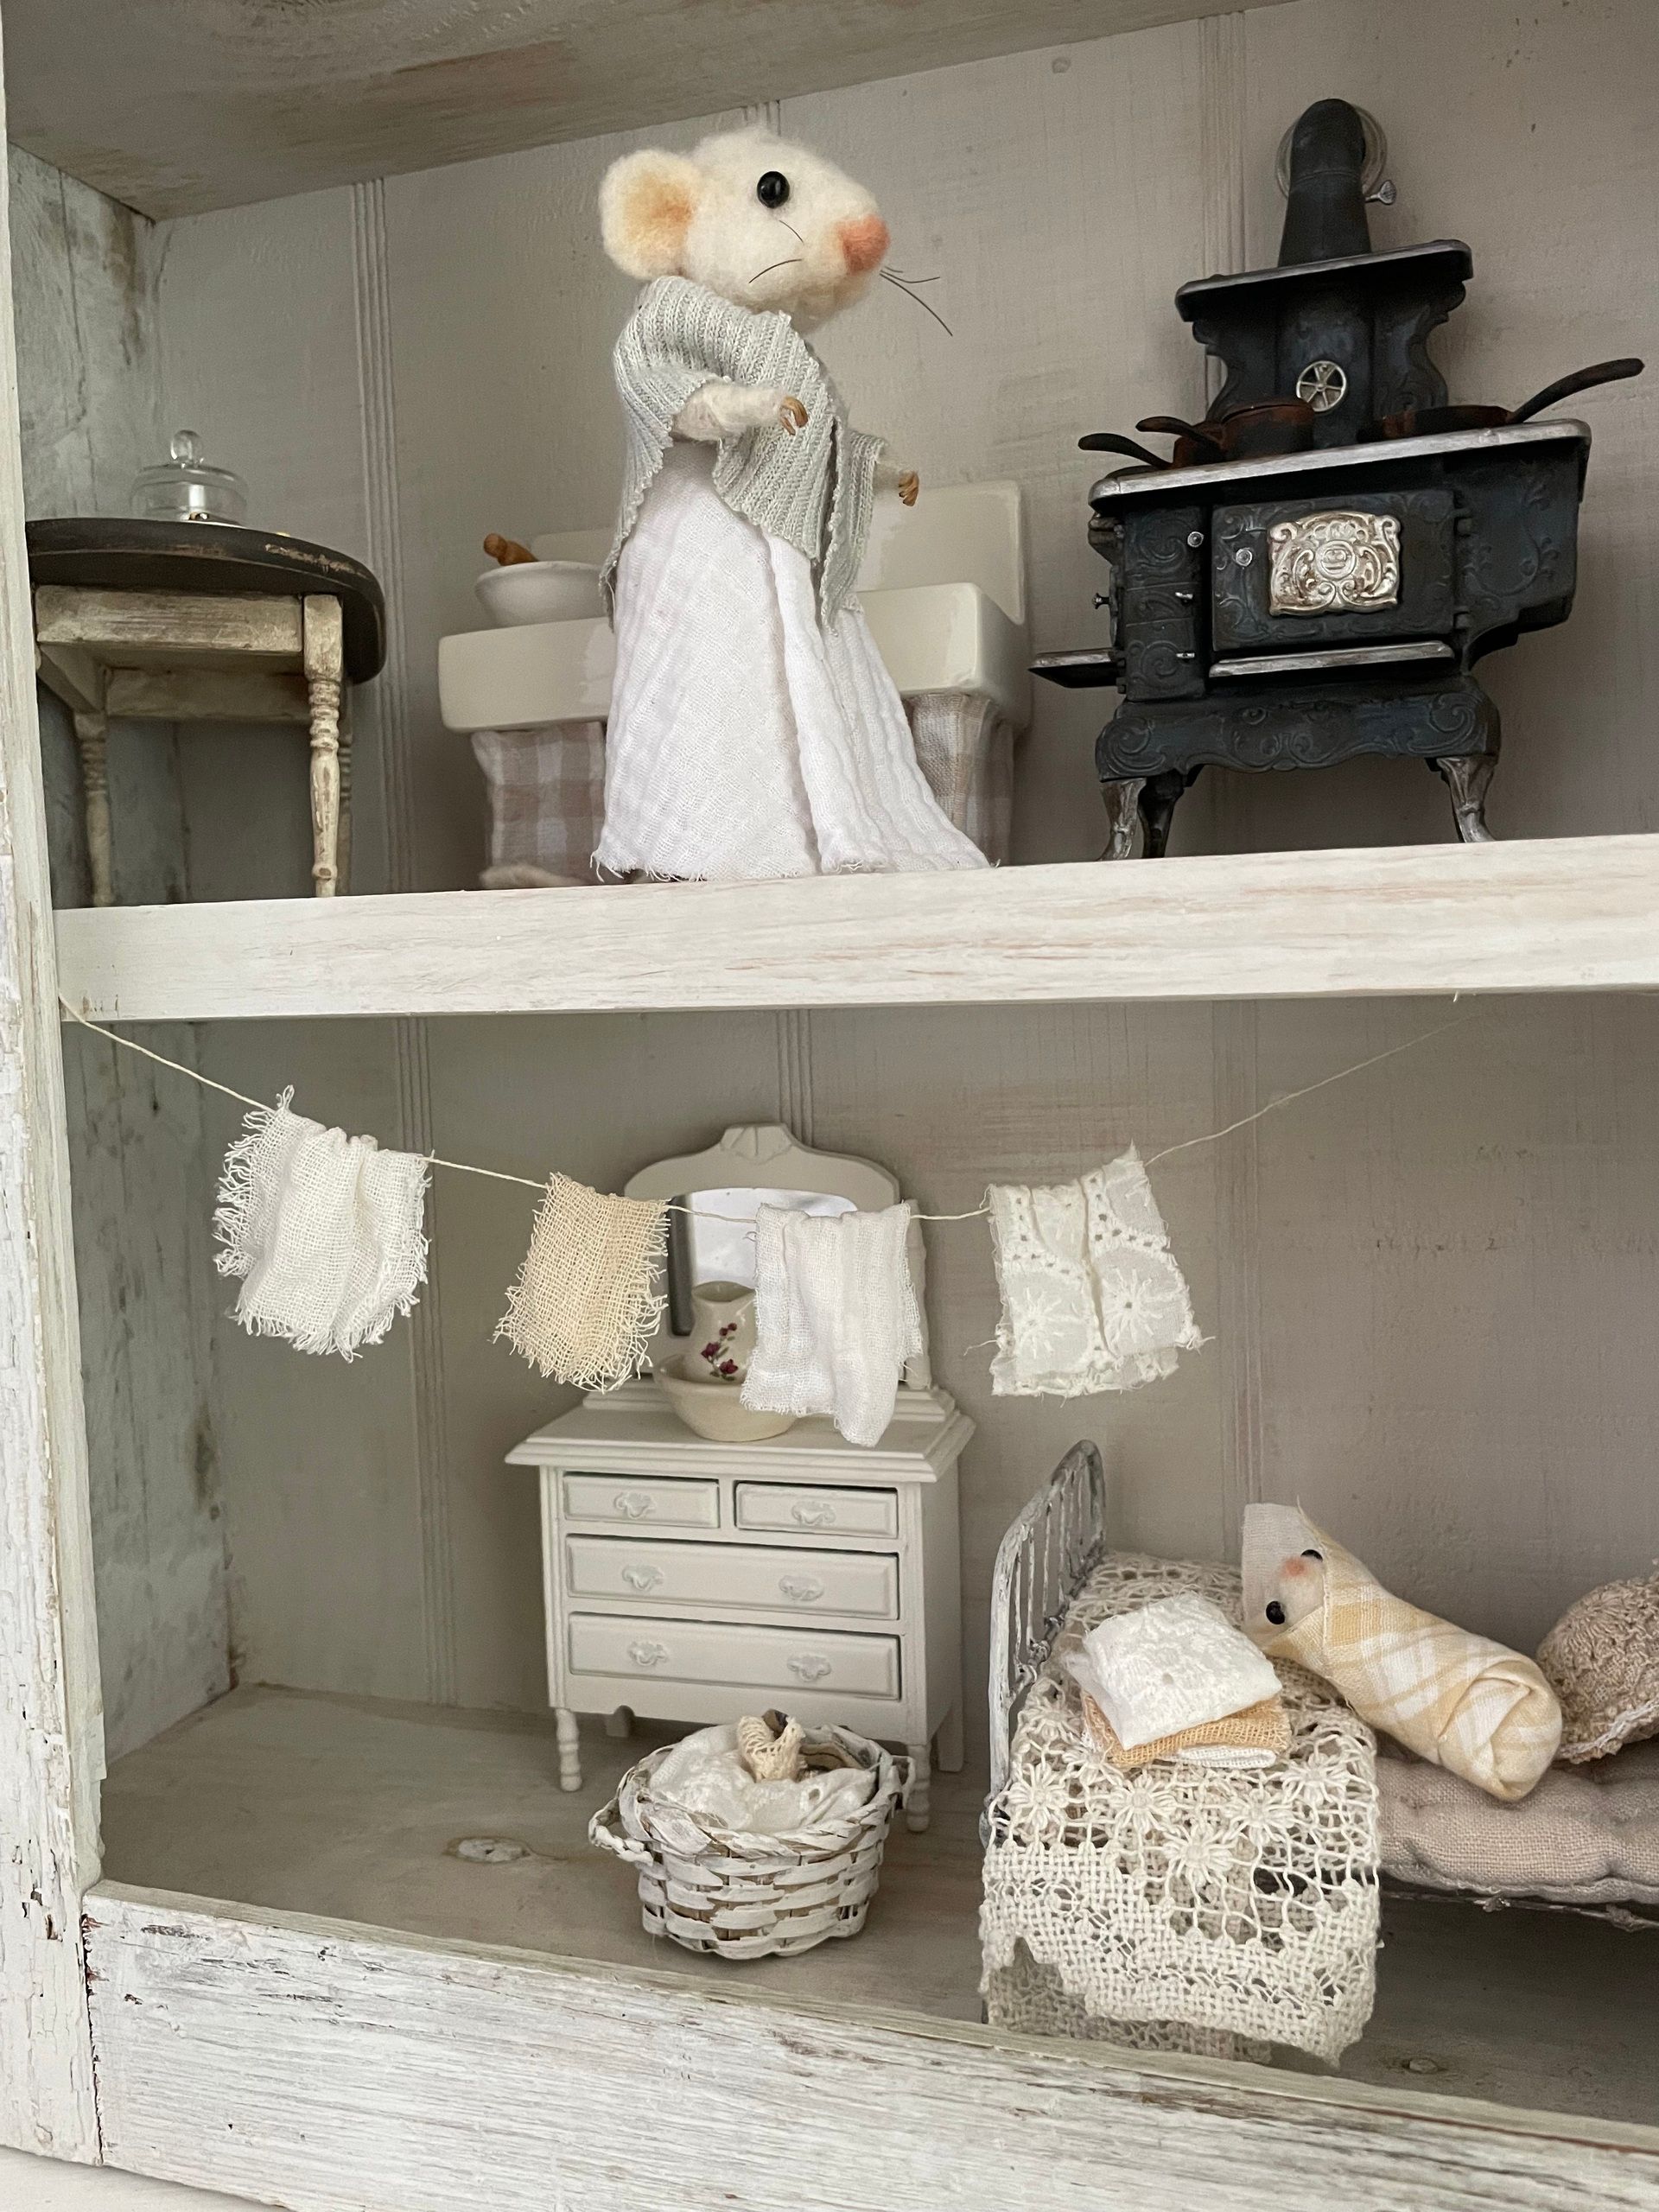


This little stove is a Chrysnbon kit, and can be found on Etsy if you’d like to give it a try yourself. I really enjoyed building it and painting it to look like a real antique stove with plenty of age and a bit of rust here and there.
This isn’t really a tutorial or anything but I thought I’d share the general techniques I used, as well as the paint colors.

First I painted the entire stove black. I used black chalk paint for this and I did three thin coats. Then after that had dried I used the silver paint to highlight the little trim bits here and there, as well as the grate/vent on the side and the front of the oven door, and the stove feet. I did three coats of silver on all of those parts.
The next step is aging everything. I used raw umber paint and a small craft brush to “dry brush” a thin layer here and there over the silver paint. It dulls it a bit and adds a slightly rusty look.
The next thing I did was age the black on the stove with a light tan paint. Again I used the dry brush method and basically just whisked it on very lightly over the black. Use a paper towel with a bit of water on it to dab at it a bit if you get too much on.
I wanted the stove paint to look sooty, and not a new black.
The final step was to dry brush more raw umber here and there on the stove body. It just grubs it up a bit and gives it a layered,rusty, and worn patina. I hope the closeup photos help you see a bit of how I did it. It helps to have a picture of an old stove to look at. I just imagined one in my head but I’m sure a google search would pull up lots of photos that you could use for reference.
Anyway, I hope you enjoyed my rusty Victorian stove project. It was so much fun to do! If you try it I’m sure you’ll enjoy it too. There really is no wrong way to paint it, so have fun making it yours!
If you’d like to purchase a little Victorian stove for yourself that’s perfectly aged (already done for you) keep an eye out on my stories for an announcement… I will have a couple available for purchase this week in my Etsy shop.
I’ll see you next time!
~ Jenna
Reply